It can be dreadful when you have difficulty uploading files or images to your WordPress website. Such a failure to upload images is the major problem that randomly occurs in WordPress. However, there is a requirement of giving a specified file and directory permission to upload images and work fluently. So, when you give incorrect file permissions, the Can’t Upload Images To WordPress site issue will probably happen. In such a scenario, you might have to look for a solid solution to instantly cope with it. Thus, the blog post has compiled various factors for its appearance and its suitable fixing guide. Feast your eyes to learn how to come out of it.
Why You Can’t Upload Images To WordPress?
WordPress Image Upload Error can mostly be caused by one of the following:
- The size of the image that you attempt to upload is probably too large.
- The invalid image file name is also one possible cause for the Can’t Upload Images To WordPress error.
- Wrong file permission will also be the one factor that prevents the WordPress website from loading the file image on the web hosting server.
- The image won’t be uploaded on your WordPress site when the gallery images become a ghost.
- Insufficient PHP memory limit could sometime also result in the ‘Image Not Uploading’ problem.
Profound Solving Tricks To Fix Can’t Upload Images To WordPress Error
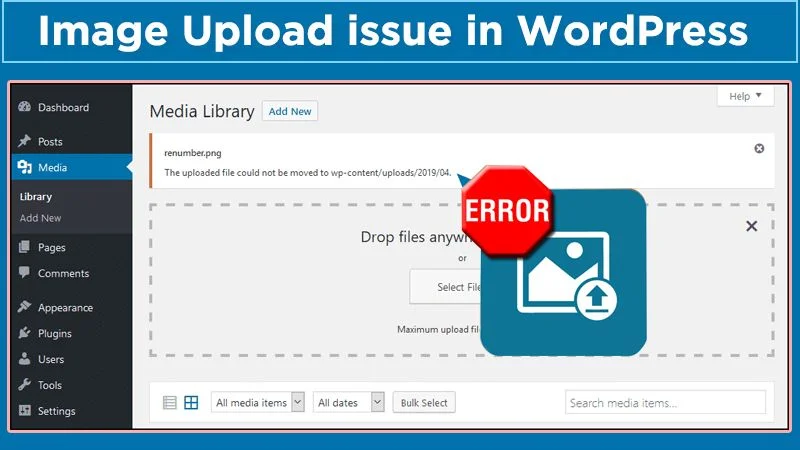
Nothing is more infuriating than receiving either of the following error while uploading an image:
- Unable to create directory wp-content/uploads/2019/04. Is its parent directory writable by the server?
- An error occurred in the upload. Please try again later.
From the last few minutes, you might be constantly trying hard in uploading an image. But, unfortunately in the end you find the Can’t Upload Images To WordPress error issue. The required techniques to get the selected images successfully uploaded on WordPress are enumerated underneath. So, all you have to do is give a glimpse of the below-mentioned solutions and execute them accordingly. Let’s begin!
Solution 1: Modify File Permissions
It is very crucial to ensure your upload folder has the right permissions otherwise you Won’t Upload Images To WordPress Site. Thus, immediately check it out and change the file permissions if necessary. You can use an FTP client for adjusting the correct folder permission. Here’s how to do so in the minimal time of interval:
- First and foremost, you have to connect to your website via FTP.
- Thereafter, Go to the “/wp-content/” folder. Under this folder, you will find the “Uploads” folder where WordPress stores all your media uploads including images.
- Now, access your wp-content uploads inside the “uploads” folder.
- Put a right-click on the “Uploads” directory and then select the “File Permissions” option.
- The file permissions dialog box will thereafter appear on the screen.
- Now, type “744” into the numeric value field.
- Check the box next to the option of “Recurse into subdirectories”.
- Now, press a click on the “Apply to directories only” radio button.
- Now, click on the “OK” button to apply the changes.
- The FTP client will now start applying file and folder permissions to the directories.
NOTE: If setting directory permissions to 744 won’t solve WordPress Image Upload Error, then try to adjust it to 755.
Now, after adjusting the file permissions correctly, try to reload your library to check if your images display. If the file is successfully uploaded, that’s great! Otherwise, you can implement the next solution.
Solution 2: Increase The File Size Limit
To increase the size limit of your file, make sure your site contains a php.ini file. Therefore, let’s first check your main WordPress folder for your php.ini file and add this text to it. If you cannot find the file, create a php.ini file, paste in this text, and thereafter upload it to your main WordPress folder. Herein add the following lines of text to the php.ini file to make suitable adjustments to the file size:
- upload_max_filesize = 128M
- post_max_size = 128M
- max_execution_time = 300
These changes would increase the size limit and hence you would be able to hassle-freely upload your images. If, in case, it doesn’t work, move on to the next solving guide.
Solution 3: Use The Browser Uploader
After implementing all the above fixes still experiencing the Can’t Upload Images To WordPress error, use the built-in file uploader in your browser. Although the browser uploader does not support multiple file selections or drag and drop, it can be effective in uploading an image quickly. Here’s what to execute:
- First of all, you have to go to Media > Add New from your WordPress dashboard. Doing this will allow you to use the image uploader.
- Now, give a click on the “Browser Uploader” link.
- Tap on the “Choose File” tab. The file selection dialogue box pops-up, where you can upload the image frequently.
- If this fix is successful, try uploading an image using WordPress standard image uploader. This will let you identify whether your image upload issue has been solved or yet persists.
Conclusion
We hope this article has helped you in sorting out the Can’t Upload Images To WordPress site issue. If, unfortunately, still you have the image upload issue in WordPress, feel free to communicate with us. Dial 24×7 online opened helpline number to get united with our top-most deft connoisseurs. The team will detect the proactive ways to upload images in WordPress without hindrance.